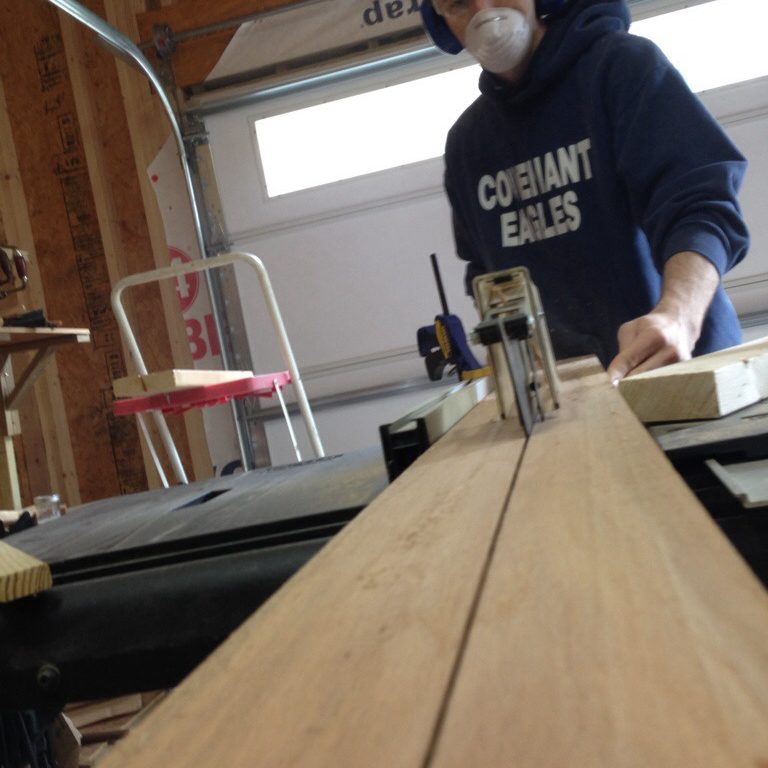
Day 2 of the workbench build happened this Saturday. A friend at work was generous enough to give me his old Ryobi 10″ table saw when he upgraded to a Rigid. I decided to break it in by ripping the surfaced boards into ~2.7″ pieces for the top.
Going in, I knew that some of the boards were a little warped, but I thought it would be easier to straighten them out when they were ripped into smaller pieces. Most of it isn’t that bad, and can be clamped out. The two walnut pieces I ripped are worse than the others, so I’m not sure what’s going to happen with those.
The pieces had some variance in width, so I picked the smallest and ripped it in half, then used that size to rip the remaining boards. This means that some of the pieces are over 2.7″ – I plan to just surface that later once they are glued up.
A friend stopped by to help me with the rip cuts – after all, each board is over 6′ long and holding them level throughout the entire cut is difficult. He snapped this while acting as my outfeed table.
Post-cuts. You can see the plan for the final top – 4 laminated oak pieces, a walnut accent strip, 4 more oak, another walnut accent, 4 more oak.
Clamps, clamps, clamps. I need more clamps. I decided to start laminating the pieces two at a time, then I’ll rough surface them, glue them into 4’s, etc etc.
While waiting on the glue to dry, I decided to hang some of the proposal boards that have been sitting almost two years now.
And a glimpse at my new shop dog, Titus.





2 thoughts on “Petit Roubo Workbench Build, Part 2: Rips & Laminations”